Retrieve Website ID
First, you need the Website ID of your documentation from your bchic Dashboard.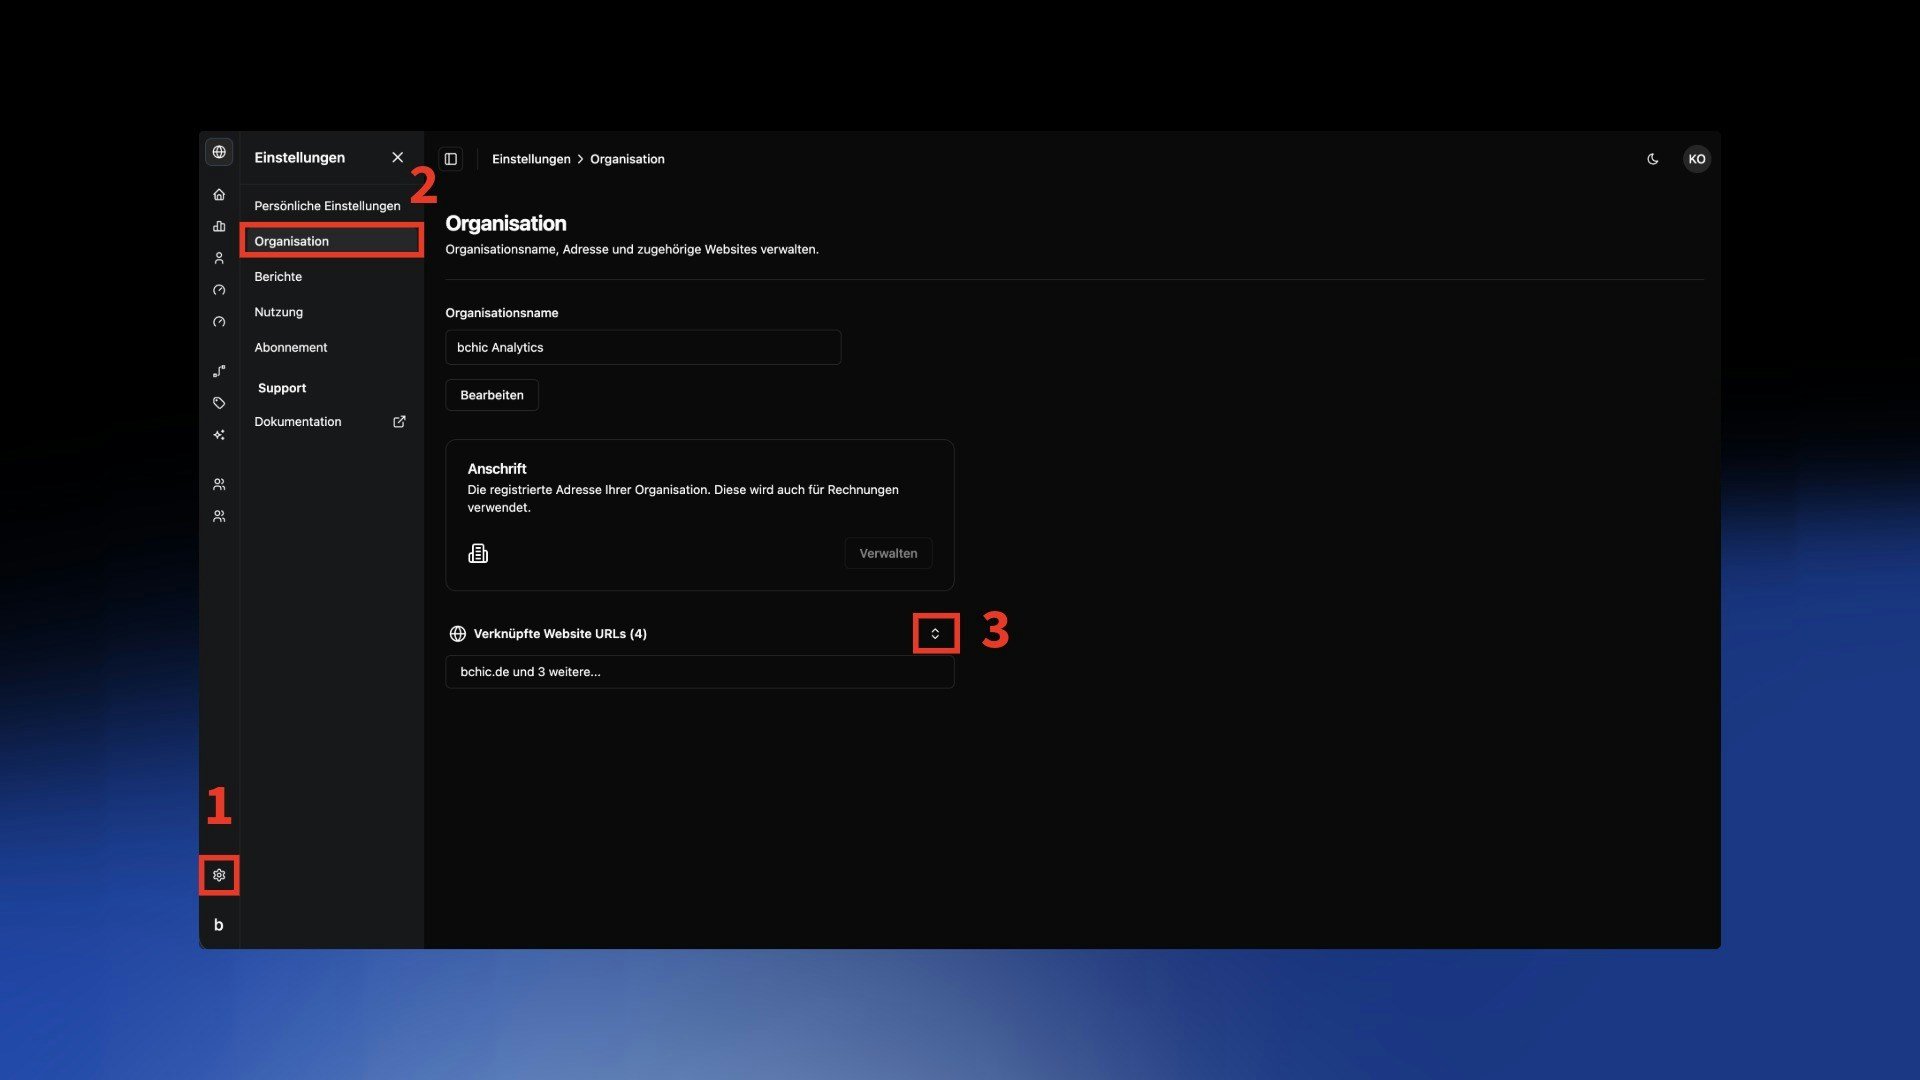
- Open Settings (gear icon bottom left).
- Navigate to the Organization menu item.
- Open the “Linked Website URLs” area via the arrow icon.
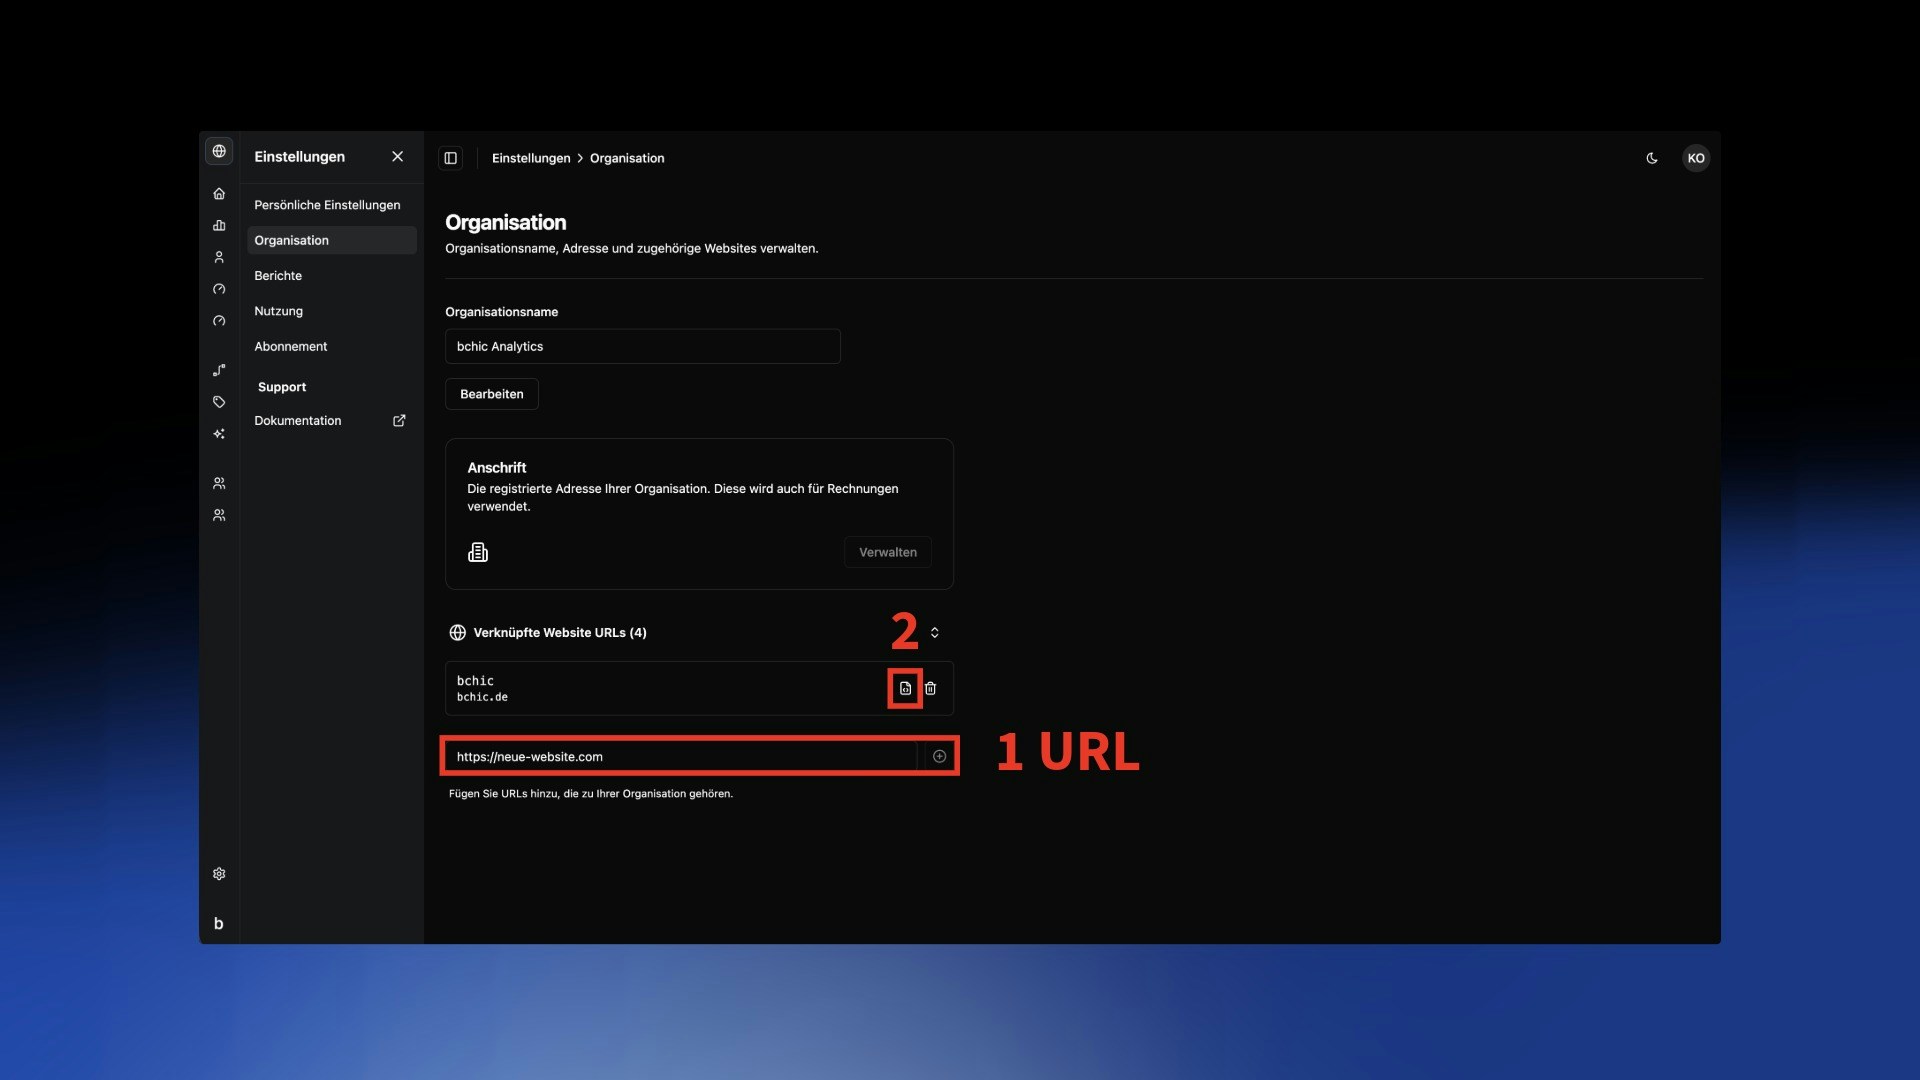
docs.your-company.com) and click on the plus symbol:data-website-id attribute.Create Tracking File
Now create a new file in your documentation project. We recommend saving this in the root directory (where your
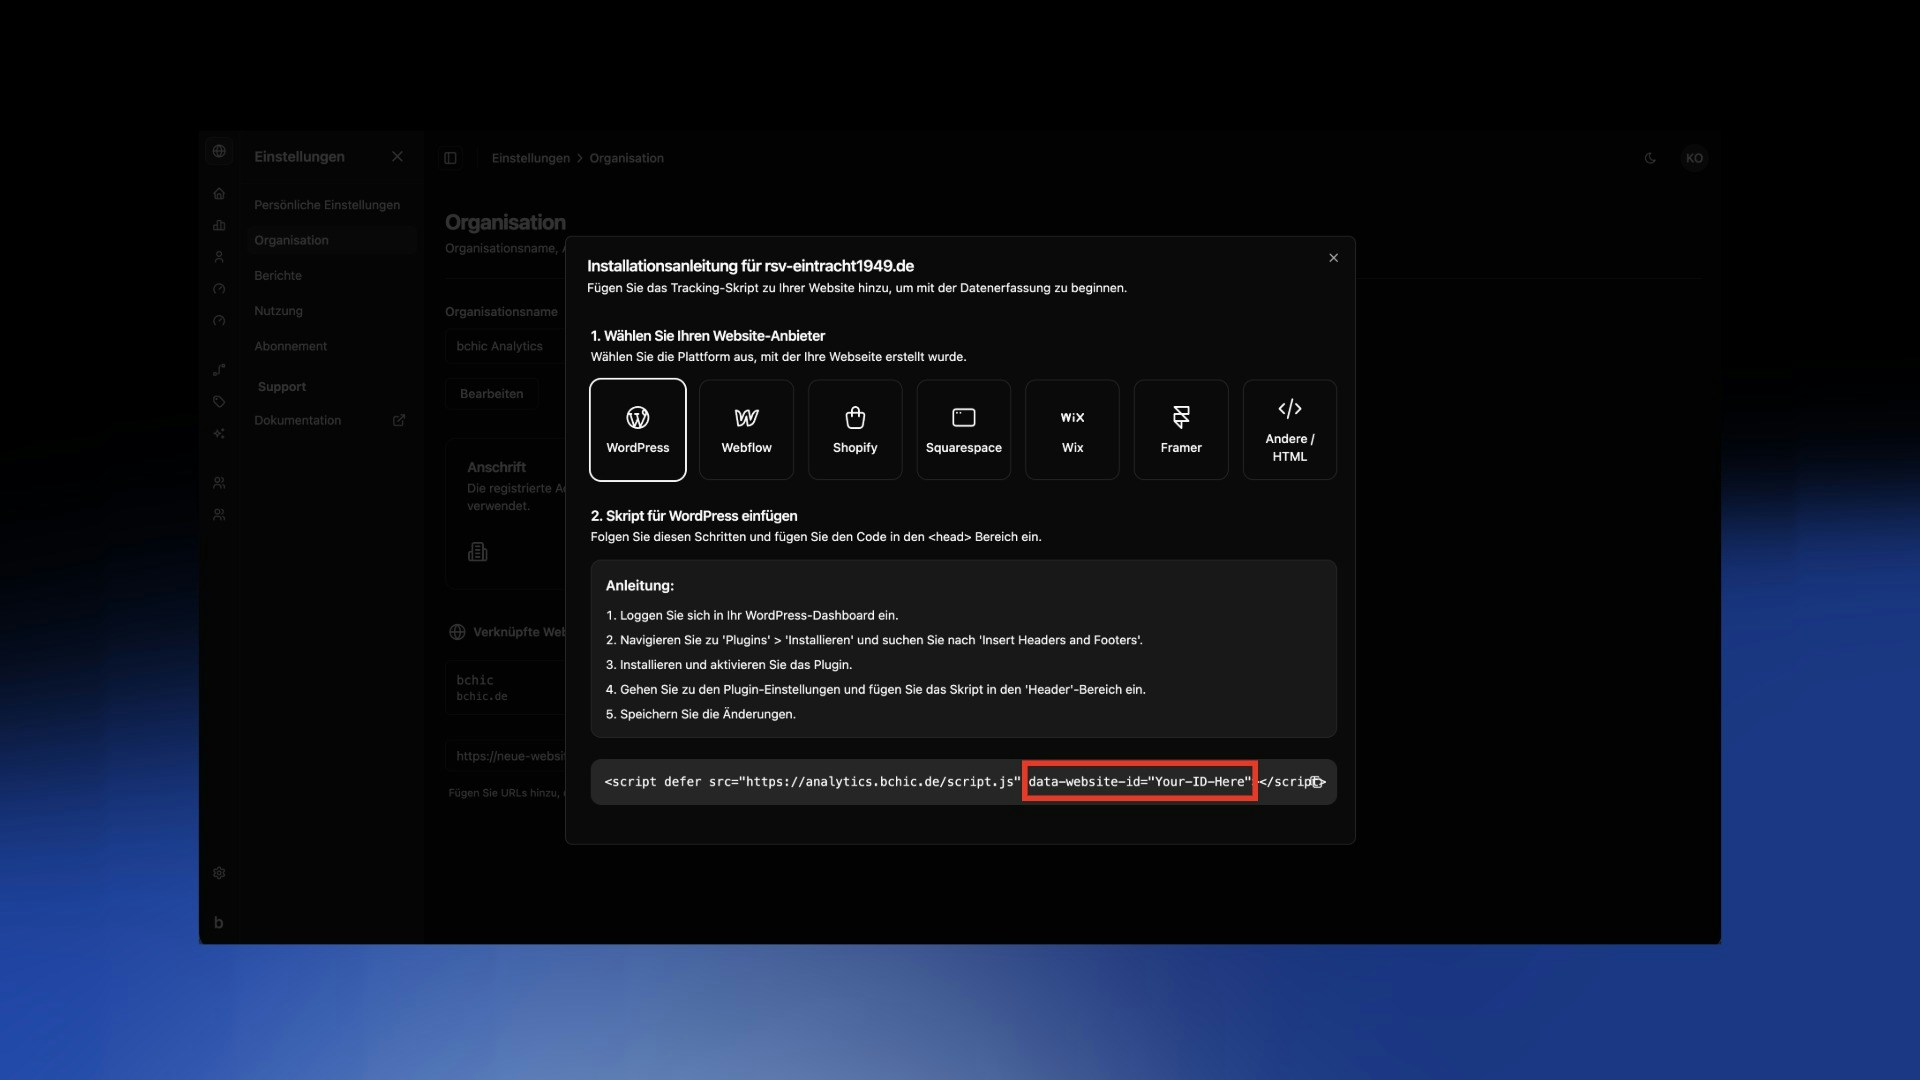
docs.json is located).Name the file: bchic.jsPaste the following code into this file. Important: Replace YOUR-ID-HERE with the ID you copied in the first step.bchic.js